Chocolate Hazelnut Thumbprint Cookies
Highlighted under: Cakes & Treats
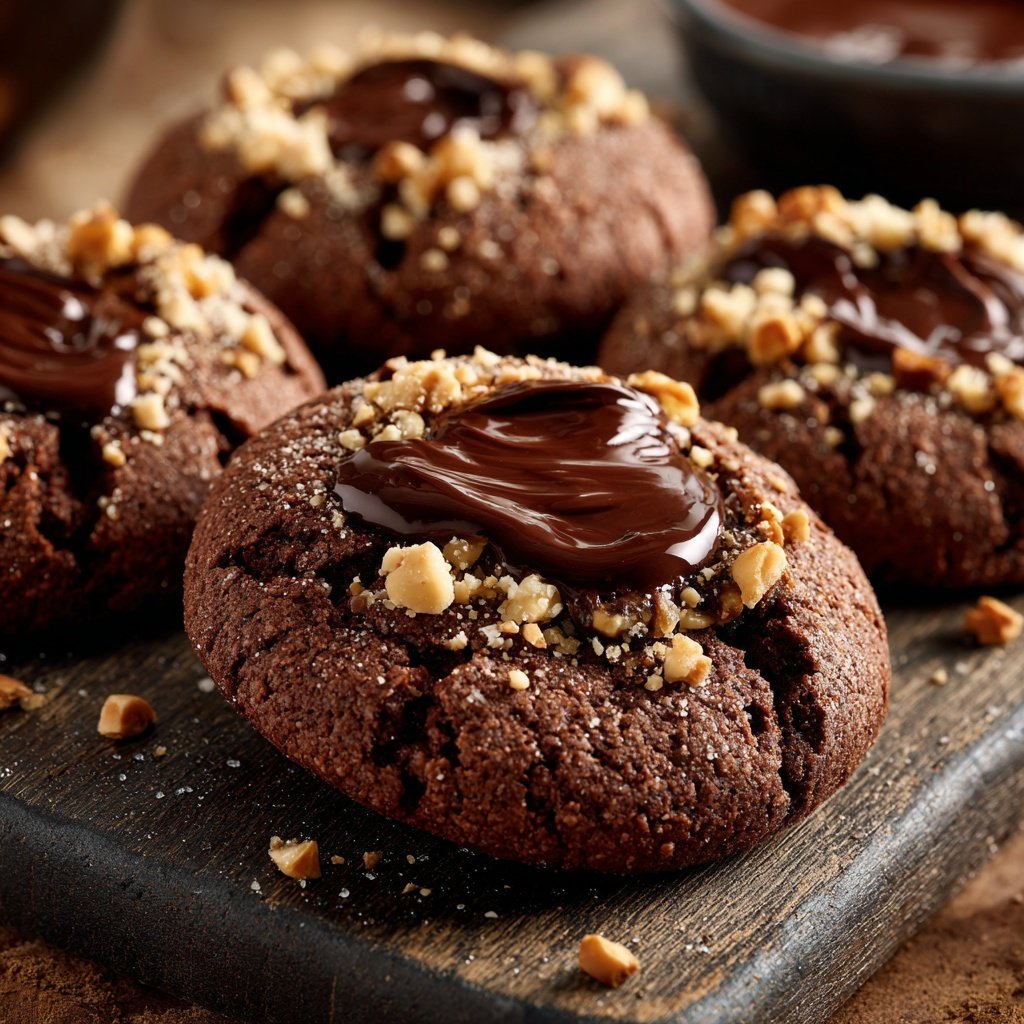
Whenever I bake Chocolate Hazelnut Thumbprint Cookies, I’m reminded of the warmth and comfort of my family’s kitchen. Each bite is a delightful blend of rich chocolate and nutty hazelnut flavors, creating a treat that’s both decadent and satisfying. The thumbprint technique not only adds a unique touch but also allows for a delicious filling of chocolate ganache or fruit preserves. I love how easy they are to make, yet they always impress. Perfect for sharing during the holidays or simply enjoying with a cup of coffee, these cookies have become a beloved staple in our home.
I remember the first time I made these cookies; the aroma of hazelnuts roasting in the oven filled my home with such warmth. They became a hit at our family gatherings, with everyone eagerly asking for the recipe. I love the way the thumbprint creates a little well for the filling, making every bite a surprise. I prefer to use a rich chocolate ganache, which complements the nutty flavor beautifully.
To get the best flavor out of the hazelnuts, I always toast them lightly before grinding. This really enhances their nutty essence and makes the cookies so much more aromatic. The thumbprints formed before baking help retain the filling perfectly, so it doesn't overflow while they bake, providing a delicious burst of flavor with each bite!
Why You Will Love These Cookies
- Rich chocolate flavor paired with nutty hazelnuts
- Delightful texture that balances crispness with chewiness
- Versatile filling options for personalized treats
Understanding the Cookie Components
The foundation of these Chocolate Hazelnut Thumbprint Cookies relies heavily on the quality of your hazelnuts. Toasting them beforehand not only enhances their flavor but also brings out their natural oils, adding richness and moisture to the cookies. If you can’t find hazelnuts or prefer a nut-free version, almond meal can provide a similar texture and flavor profile, though the final taste will vary slightly.
Cocoa powder is another key player in this recipe, contributing to the cookie's deep chocolate flavor. Using high-quality, unsweetened cocoa will yield better results than lower-quality options. If you're seeking a more intense chocolate hit, you could opt for Dutch-processed cocoa, which provides a smoother taste and darker color. Just be mindful of the subtle differences in sweetness.
Perfecting the Thumbprint Technique
The thumbprint method is not only a charming aspect of these cookies but also crucial for achieving the right texture. Creating the indentation while the dough is still soft guarantees that the filling will nestle in perfectly. When making the thumbprint, be gentle; too aggressive may cause the cookie to crack or fall apart during baking. Aim for a depth of about half the thickness of the cookie to hold just the right amount of filling.
After baking, the cookies should have slightly puffed edges while maintaining a soft center. Allow them to cool on the sheet briefly; this will prevent them from breaking when you add the filling. If you notice any cracks post-baking, consider pressing the indentation lightly once more before filling, ensuring each cookie looks as good as it tastes.
Filling Variations and Storage Tips
While chocolate ganache is a classic filling for these cookies, don't hesitate to get creative! Fruit preserves, such as raspberry or apricot, can provide a refreshing contrast to the rich chocolate. For a delightful surprise, try using flavored ganaches, like orange or espresso, to elevate the taste experience. Remember to let any filling cool slightly before adding it to avoid compromising the cookie's texture.
For storage, these cookies are best enjoyed within the first few days for optimal flavor and chewiness. Keep them in an airtight container at room temperature. However, if you wish to make ahead, these cookies freeze beautifully. Just freeze the unbaked dough in balls, then thaw and bake directly from frozen, adding a couple of extra minutes to the baking time for a fresh, warm treat.
Ingredients
Before we get started, here are the ingredients you'll need to make these delectable cookies!
For the Cookies
- 1 cup hazelnuts, toasted and finely ground
- 1 cup all-purpose flour
- 1/2 cup unsweetened cocoa powder
- 1/2 cup unsalted butter, softened
- 1/2 cup granulated sugar
- 1/4 cup brown sugar, packed
- 1 large egg
- 1 tsp vanilla extract
- 1/4 tsp salt
For the Filling
- 1/2 cup chocolate ganache or fruit preserves
Now that we have our ingredients ready, let’s move on to the steps to make these delicious cookies!
Instructions
Follow these simple steps to bake your Chocolate Hazelnut Thumbprint Cookies.
Prepare the Dough
In a mixing bowl, cream the softened butter with both sugars until light and fluffy. Add the egg, vanilla extract, and mix well. Gradually fold in the ground hazelnuts, flour, cocoa powder, and salt until just combined.
Shape the Cookies
Preheat your oven to 350°F (175°C). Roll the cookie dough into balls, about 1 inch in diameter, and place them on a parchment-lined baking sheet. Use your thumb to create a small indentation in the center of each cookie.
Bake and Fill
Bake in the preheated oven for 12-15 minutes, until the edges are set but the middles are still soft. Remove from the oven and let them cool slightly before filling each thumbprint with chocolate ganache or your choice of fruit preserves.
Enjoy your fresh-baked Chocolate Hazelnut Thumbprint Cookies with a cup of tea or coffee!
Pro Tips
- Make sure to toast the hazelnuts to enhance their flavor. Experiment with different fillings to find your favorite combination!
Troubleshooting Common Issues
If your cookies spread too much during baking, it’s possible the butter was too soft or the dough was not chilled. For the best results, make sure the butter is just softened and consider chilling the dough for about 30 minutes before rolling. This will help maintain their size and shape while baking.
Another issue could be that the cookies are too dry. This can occur if they were overbaked or if the flour was over-measured. Always spoon your flour into the measuring cup and level it off to avoid overpacking. If the cookies seem dry after baking, a touch of frosting on top can revive them and add an extra touch of sweetness.
Scaling the Recipe and Serving Suggestions
If you're planning a larger gathering or want to gift these cookies, this recipe is easily scalable. Simply double or triple the ingredient quantities while keeping the same cooking times. Just monitor the batch closely as ovens can vary, especially with larger quantities. Consider baking in separate trays for consistency in baking times.
These cookies pair wonderfully with a variety of beverages—try serving them with espresso, hot chocolate, or even a glass of milk for a nostalgic touch. For a decorative presentation, arrange them on a festive plate with sprigs of mint or alongside other holiday treats to create an inviting dessert platter.
Questions About Recipes
→ Can I use other nuts instead of hazelnuts?
Absolutely! Almonds or pecans work great as substitutes.
→ How do I store leftover cookies?
Store them in an airtight container at room temperature for up to 5 days.
→ Can I freeze the cookie dough?
Yes, you can freeze the dough for up to 3 months. Thaw in the fridge before baking.
→ What can I use instead of eggs to make these cookies vegan?
You can replace the egg with a flax egg or applesauce for a vegan version.
Chocolate Hazelnut Thumbprint Cookies
Created by: Sloane Patterson
Recipe Type: Cakes & Treats
Skill Level: Easy
Final Quantity: 24 cookies
What You'll Need
For the Cookies
- 1 cup hazelnuts, toasted and finely ground
- 1 cup all-purpose flour
- 1/2 cup unsweetened cocoa powder
- 1/2 cup unsalted butter, softened
- 1/2 cup granulated sugar
- 1/4 cup brown sugar, packed
- 1 large egg
- 1 tsp vanilla extract
- 1/4 tsp salt
For the Filling
- 1/2 cup chocolate ganache or fruit preserves
How-To Steps
In a mixing bowl, cream the softened butter with both sugars until light and fluffy. Add the egg, vanilla extract, and mix well. Gradually fold in the ground hazelnuts, flour, cocoa powder, and salt until just combined.
Preheat your oven to 350°F (175°C). Roll the cookie dough into balls, about 1 inch in diameter, and place them on a parchment-lined baking sheet. Use your thumb to create a small indentation in the center of each cookie.
Bake in the preheated oven for 12-15 minutes, until the edges are set but the middles are still soft. Remove from the oven and let them cool slightly before filling each thumbprint with chocolate ganache or your choice of fruit preserves.
Extra Tips
- Make sure to toast the hazelnuts to enhance their flavor. Experiment with different fillings to find your favorite combination!
Nutritional Breakdown (Per Serving)
- Calories: 380 kcal
- Total Fat: 26g
- Saturated Fat: 15g
- Cholesterol: 195mg
- Sodium: 85mg
- Total Carbohydrates: 32g
- Dietary Fiber: 3g
- Sugars: 24g
- Protein: 6g